July 09, 2020

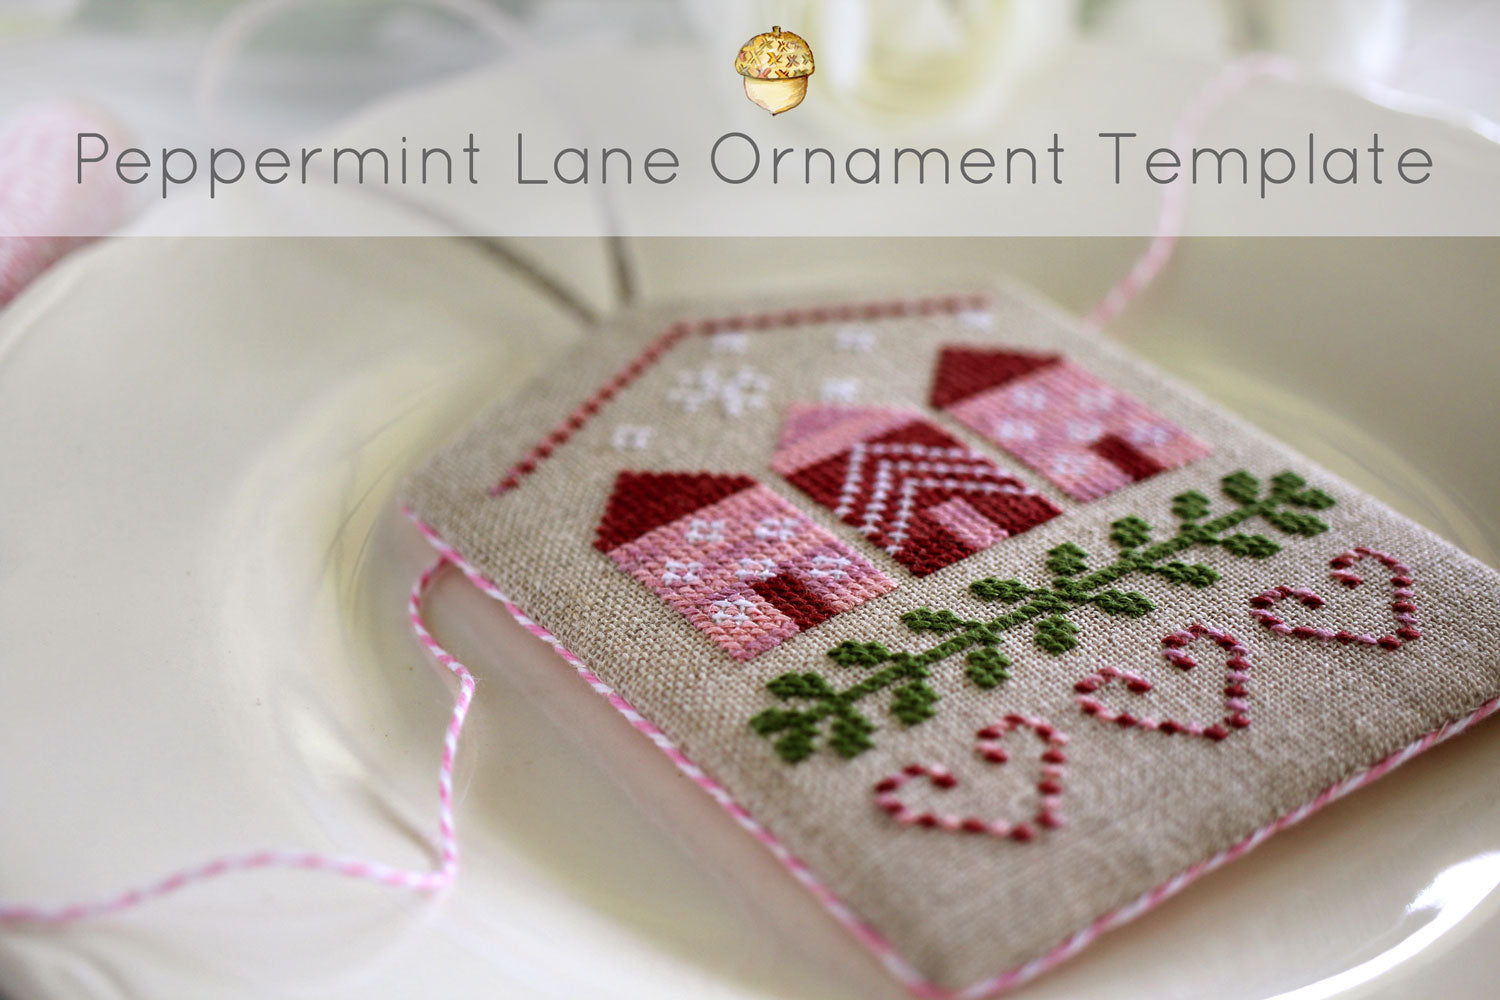
This ornament is an exclusive design for Crazy Annie's Christmas in July (2020). Check out her Facebook page for more information and to purchase this design.

If you haven't finished your own ornament, or don't think you can...I'm here to tell you it's painless and actually pretty easy!
Download the ornament template here, along with a brief version of the finishing steps.
Once you've finished stitching your Peppermint Lane ornament, give it a good pressing. Trim the edges, leaving 3/4" from the stitching all around.
Trace and cut out the ornament template at the exact size:
-1 from thin cardboard
-1 from matte board
-2 from thin quilt batting
Trace and cut out your backing fabric, adding 3/4" all around. I used a sweet pink print in a cotton quilting fabric.

Lay the backing fabric down wrong side up. Add one of the batting shapes and then lay the thin cardboard on top of that.
Using a needle and strong thread, run a basting stitch all around the edge of the backing fabric, about 1/2" in from the edge. I usually start at the bottom in the center. Pull the threads to gather the fabric around the cardboard. Knot the threads to hold the gathers in place.
I usually lace the backing fabric just so there aren't any "loosey goosey" areas when you turn it over and look at the right side.

Now, you're just going to repeat that process for the front. The only difference is you want to make sure your design is centered on the ornament.

Add your hanger to the back side of the front piece, securing it with a few stitches or a drop of glue.
Place the back and front together (wrong sides facing) and whipstitch all the way around. (I usually begin at the bottom of the ornament.)
I added an edging of pink baker's twine to my ornament, couching it into place the same way you would cording or chenille.

And that's it! A sweet little ornament ready for the tree.


I'm Robin, the designer behind October House. You've found my journal, where I talk about stitching, sewing and anything else that might catch my fancy!
Make something beautiful today!

"My best friend is a person who will give me a book I have not read." - Abraham Lincoln


