
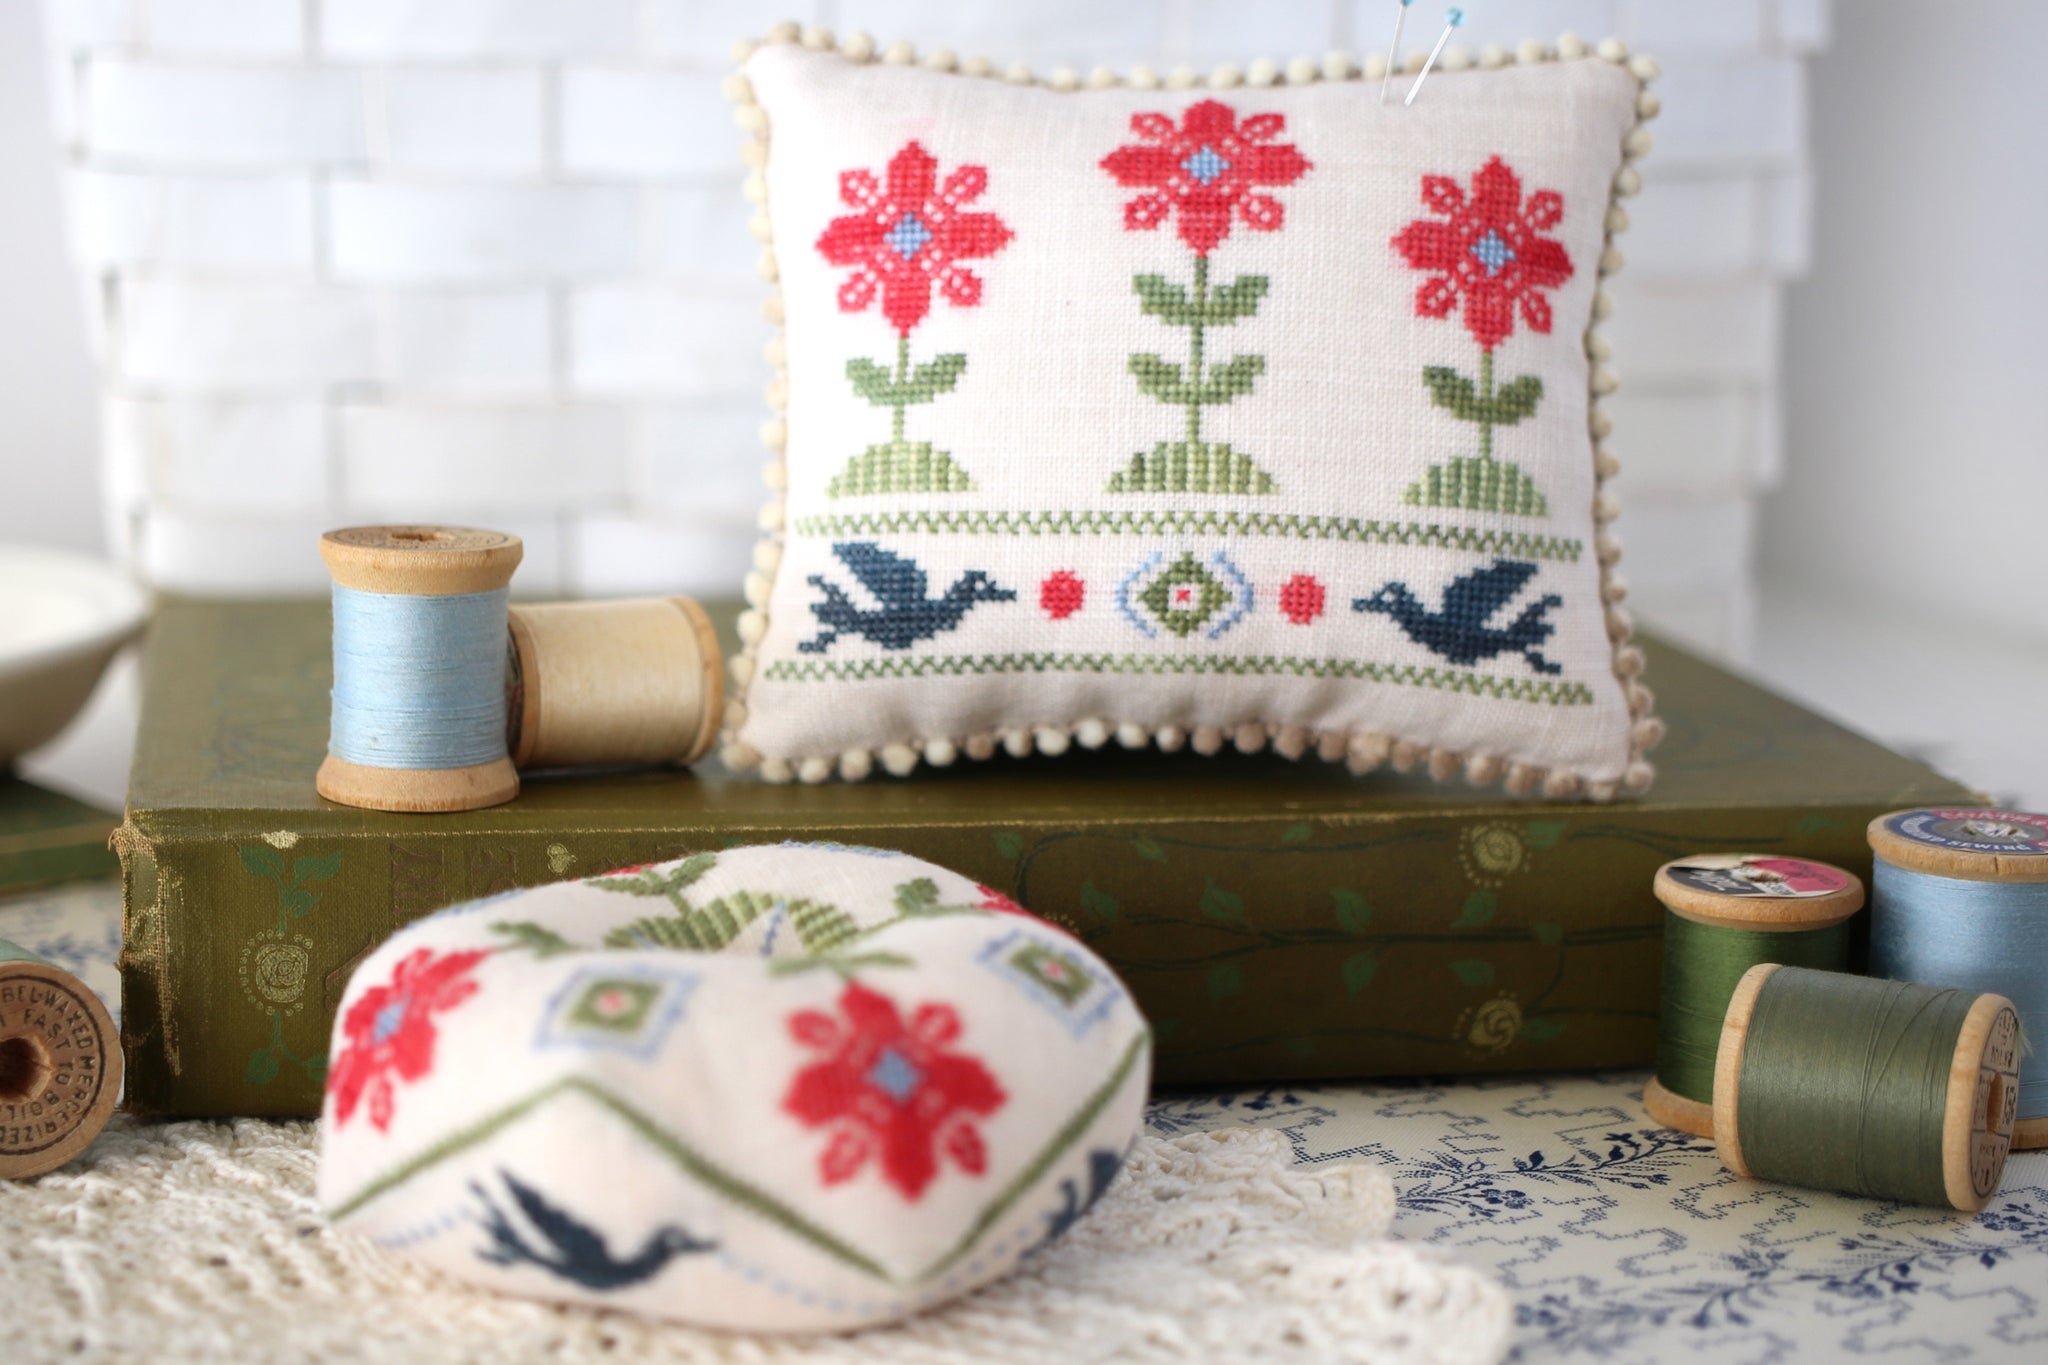
Our Gillyflower pattern has the cheeriest little personality!
If you've never stitched or finished a biscornu, you're about to find out just how easy it is. They make perfect little pincushions. Or just sit them about as cheerful decorations:) Once you make one, you won't be able to stop!

Once you've finished stitching the design, you'll backstitch around on the indicated line. Do this for the top and the bottom. They should be the same size.
PREP THE PIECES
Give them a good pressing, then trim 1/2" away from the backstitching around all four sides. Do this for both pieces.

Press this seam allowance under, using the backstitching line as a fold line. You can press with a dry iron or just finger press.

Now you need to find the center of each piece and mark it. I’ve made this a little easier just in the way it’s designed. On the front piece, the little blue square has an extra stitch right at the center mark.
On the back piece, there are 13 dots from bird to bird. The 7th dot is the center mark.

JOIN THE PIECES TOGETHER
Using a length of floss the same color as the backstitching, thread your needle and knot it securely.
Come up at the corner of the back and through the center mark of the front. Pull your thread through and make sure your knot is secure at the back.

If you are right handed, it’s easier to work from right to left. If you are left handed, work from left to right. Pass your needle through one backstitch on the back and one on the front with each whipstitch, working smooth and taut stitches as you go. (Kindly ignore my dry skin on my fingers:)


When you get the first corner, bend the back piece around to match the line of the front and continue whipstitching. You may find it helpful to put an extra stitch or two in the corners.


Continue working around the biscornu until you’ve stitched 6 of the 8 “sides”. (It’s helpful to remember as you stitch the pieces together, that each corner will line up with the center of the opposite piece and vice versa.)

STUFF AND FINISH
Stuff with polyfil or stuffing of your choice. I used polyfil for mine. (Wool roving makes a great stuffing for use as a pincushion.)
I find it helpful to stuff a little, then poke into the corners with the wooden chopstick included in the bag of polyfil. I keep repeating the “stuff then poke” until the corners look full and it seems a little overstuffed.

Close up the last two sides (I usually add a little more stuffing just before closing it completely.)
Backstitch over your last 2 or 3 whipstitches, bury your thread and cut closely, allowing the end to disappear inside the biscornu.

Using 2 strands of floss OR quilting thread, add a small button in the center of the top and bottom. Pass the thread through the buttons several times, pulling tautly each time to “tuft” the center. Fasten off securely and trim thread end so it is not visible. You’re done!

Download a PDF version of this tutorial here:


I'm Robin, the designer behind October House. You've found my journal, where I talk about stitching, sewing and anything else that might catch my fancy!
Make something beautiful today!

"My best friend is a person who will give me a book I have not read." - Abraham Lincoln


